Introduction
Are you a homeowner in Bayville, NJ, looking to refresh your living space without breaking the bank? Painting your home yourself can be a rewarding and cost-effective way to give your interiors a fresh look. In this guide, we'll walk you through the essential steps to tackle a DIY painting project, tailored specifically for beginners. Whether you're aiming to transform a single room or your entire home, this guide will equip you with the skills and knowledge needed to get started.
Why DIY Painting?
Before diving into the how-to details, let's discuss why DIY painting is a great option for homeowners in Bayville:
- Cost-effective: Save on labor costs and allocate more of your budget to quality paints and supplies.
- Personal satisfaction: Gain the satisfaction of completing a home improvement project yourself.
- Customization: Have full control over color choices and finishes.
- Flexibility: Work on your own schedule without the need to coordinate with professional painters.
Essential Tools and Materials
Before starting your painting project, gather the following tools and materials:
- Paint: Choose high-quality interior or exterior paint depending on your project.
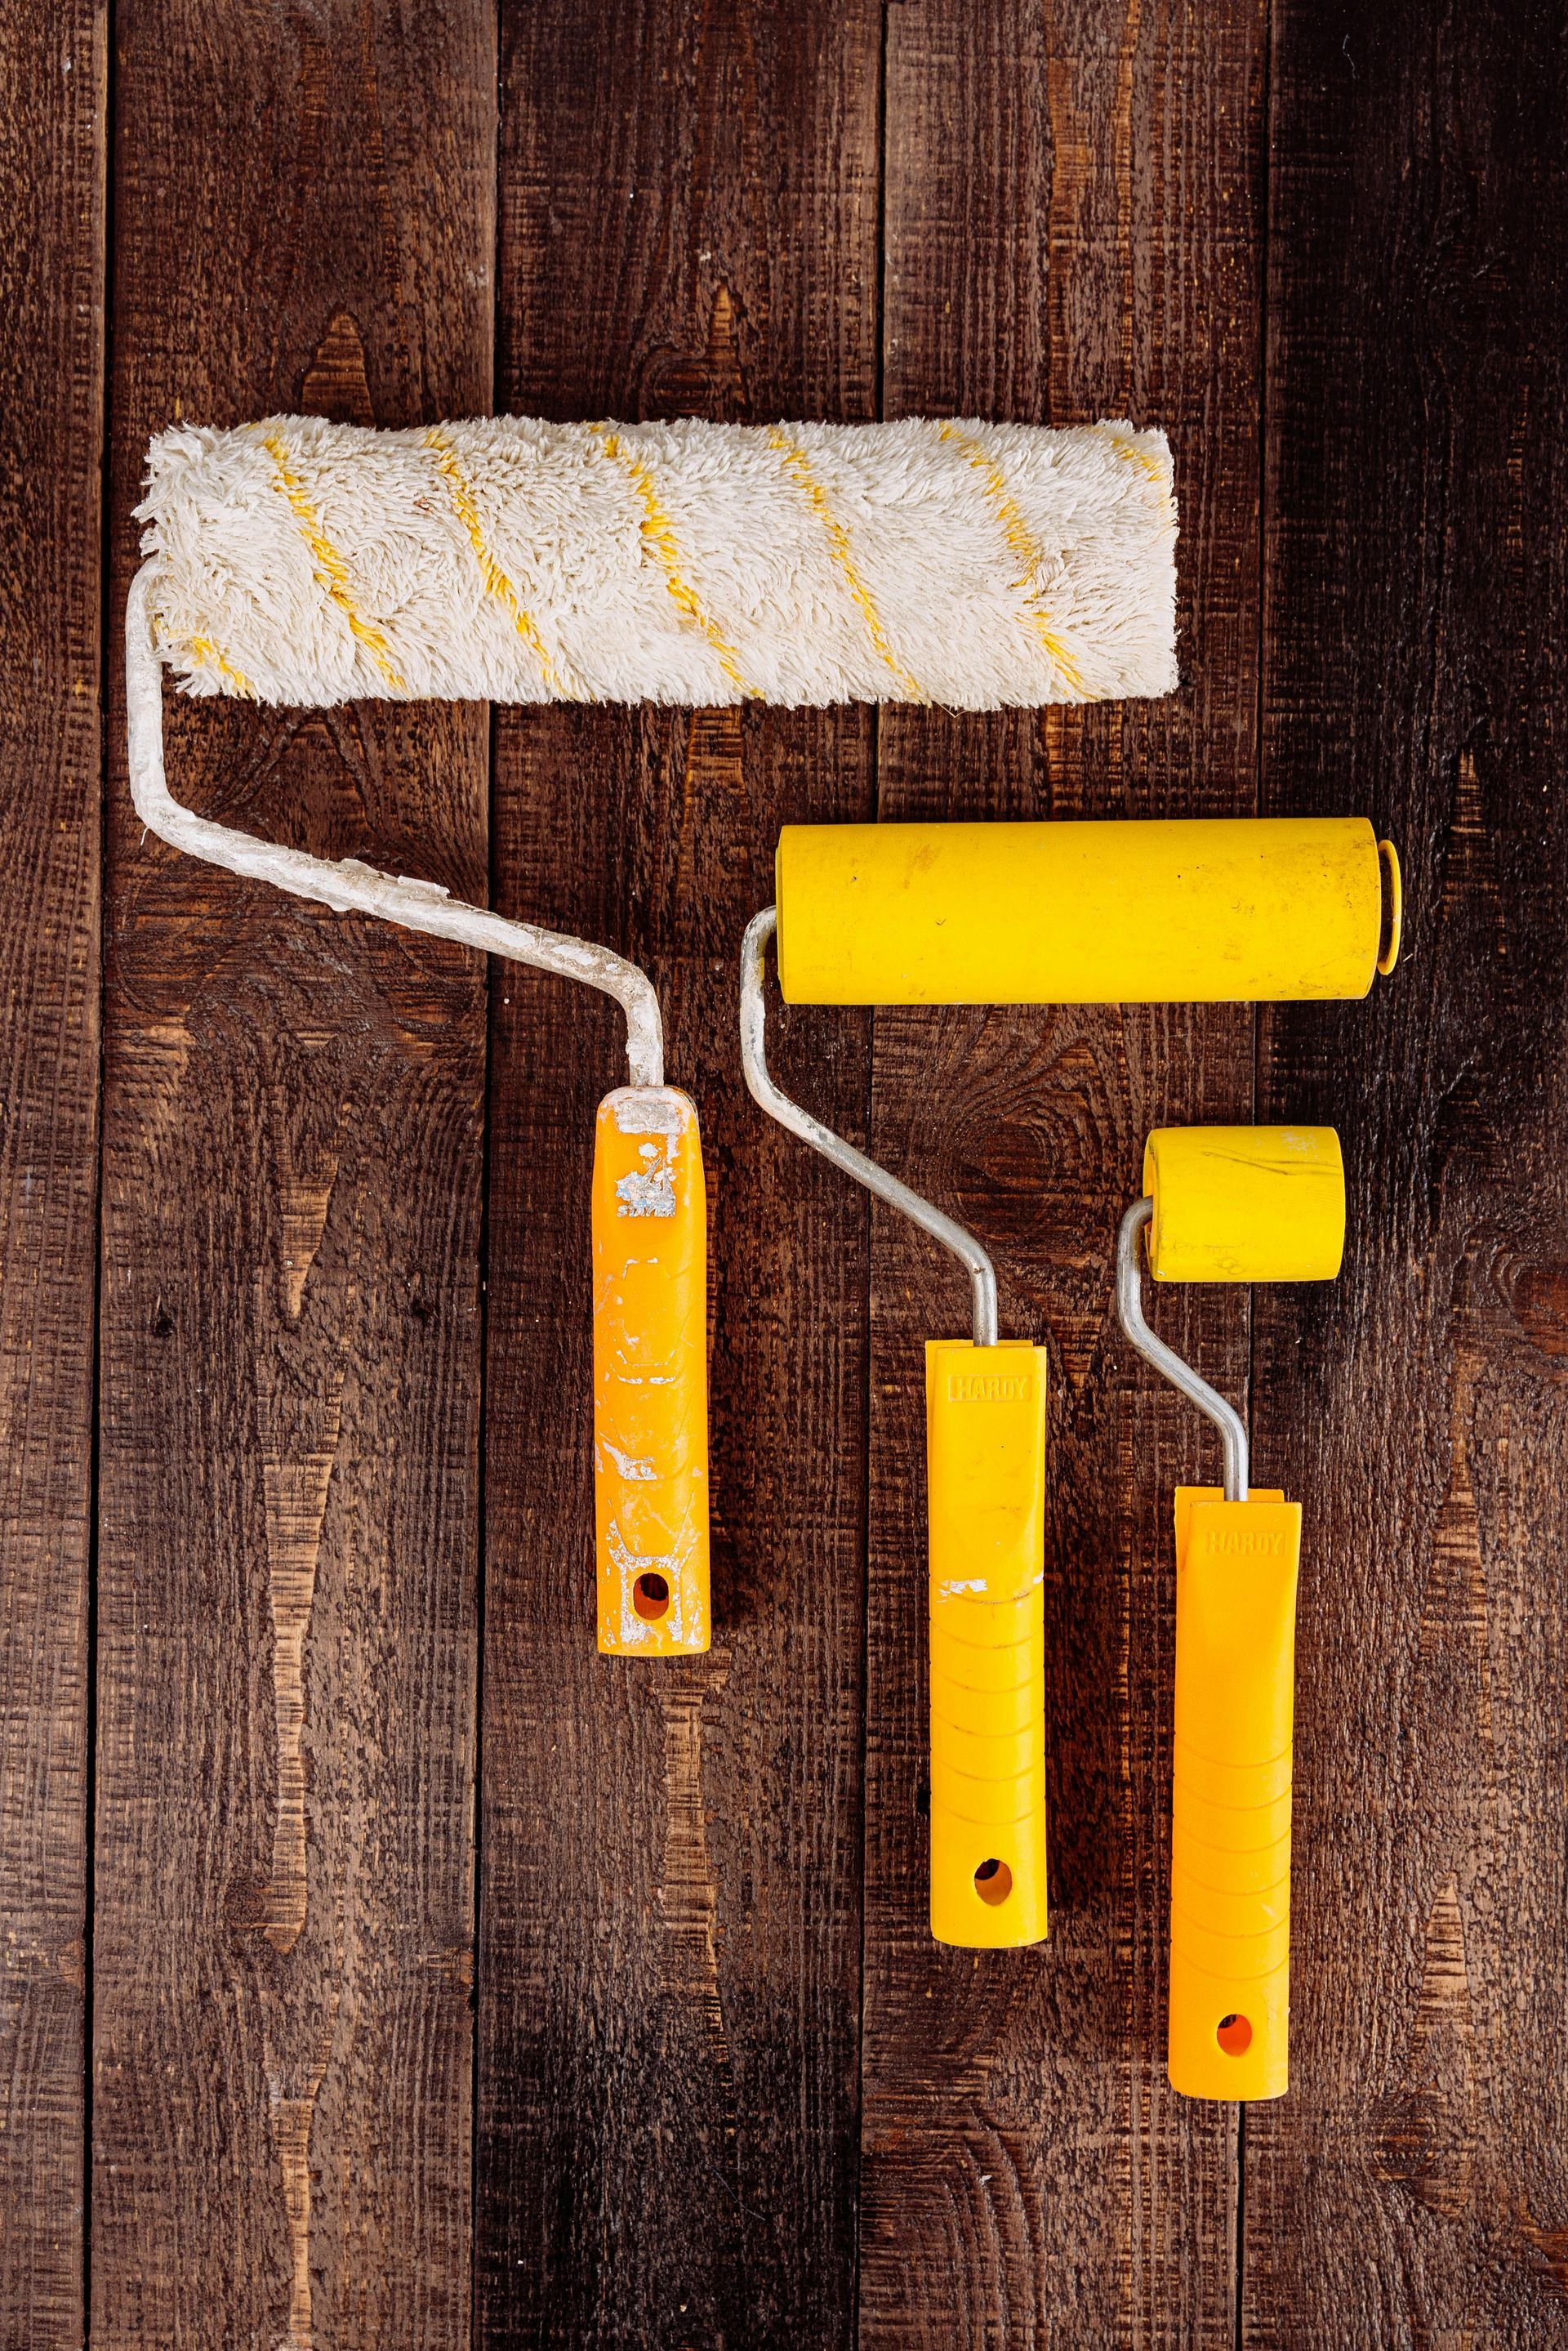
- Paintbrushes and rollers: Select appropriate sizes for edges and large surfaces.
- Painter's tape: For clean, straight lines around edges and trim.
- Drop cloths: Protect your floors and furniture from paint splatters.
- Sandpaper: To smooth surfaces before painting.
- Primer: Essential for preparing surfaces and ensuring paint adhesion.
- Paint trays and liners: For convenient paint application.
- Extension pole: Helps reach high areas without a ladder.
Step-by-Step Guide to DIY Painting
Step 1: Prepare the Room
Start by clearing the room of furniture or moving it to the center and covering it with drop cloths. Remove switch plates, outlet covers, and any wall decorations. Use painter's tape to protect trim, baseboards, and windows.
Step 2: Clean and Repair Surfaces
Wipe down walls and surfaces to remove dust and dirt. Use sandpaper to smooth any rough areas, and fill holes or cracks with spackle. Allow repairs to dry completely before proceeding.
Step 3: Apply Primer
Priming is crucial, especially if you're painting over a dark color or porous surfaces. Apply a coat of primer to ensure the paint adheres properly and to achieve a uniform finish.
Step 4: Paint the Walls
Once the primer has dried, it's time to paint! Use a paintbrush to cut in around edges and corners, then switch to a roller for larger areas. Apply paint in a 'W' pattern to ensure even coverage, and allow the first coat to dry before applying a second coat if needed.
Step 5: Clean Up
Remove painter's tape before the paint is fully dry to prevent peeling. Wash brushes and rollers immediately after use. Remove drop cloths carefully and replace any furniture or wall decorations.
Common Mistakes to Avoid
Here are some pitfalls to watch out for:
- Skipping primer: This can lead to uneven color and poor adhesion.
- Overloading the brush or roller: Can cause drips and an uneven finish.
- Not allowing paint to dry: Always wait for the recommended drying time between coats.
- Ignoring safety: Use ladders and equipment safely, and ensure adequate ventilation.
Conclusion
With this beginner-friendly guide, Bayville homeowners can confidently tackle their own painting projects and transform their living spaces. Remember, preparation and patience are key to a successful DIY painting project. If at any point you feel overwhelmed or need professional assistance, United Paint Pros is here to help with all your residential painting needs. Happy painting!
Contact United Paint Pros
If you have questions or are interested in professional painting services, don't hesitate to contact United Paint Pros. Our team of experts is ready to assist with all your residential and commercial painting projects in Bayville, NJ.